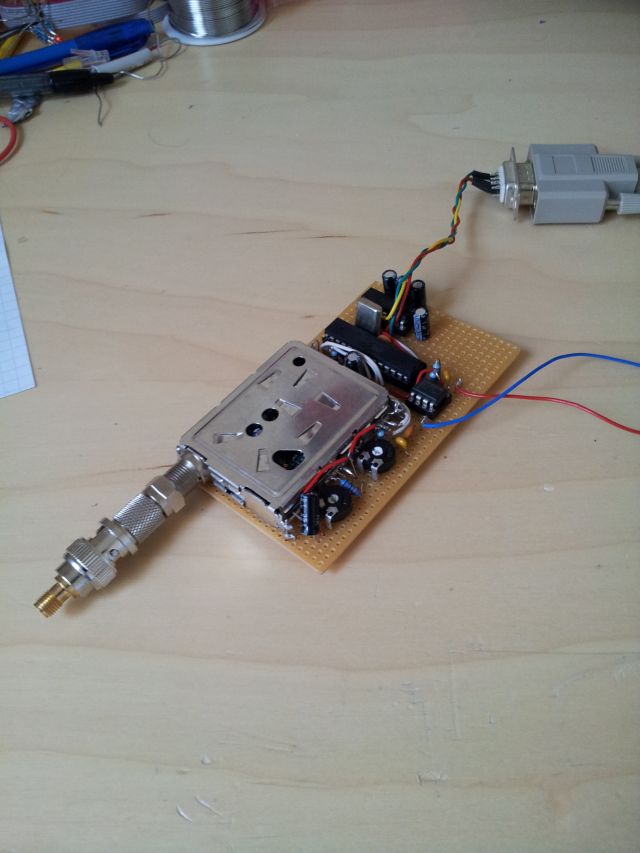
Please check out the web, you will find numerous sites that will tell you how to turn a surplus SAT tuner into an ADS-B received. Don’t fiddle around with old analog stuff, get one that has a proper demodulator (preferably, TDA8012), and a build-in PLL. The PLL – it’s easy enough to find out the pins going to the SCK, Data In, Data Out lines – it should be a TSA5055 running off a 4 MHz Xtal reference.
Step (1) – get the PLL to work. Just have a look at the TSA5055 datasheet, and clock in some divider data that make sense, and check with a receiver, or spectrum analyzer, if the LO is giving some useful output. The TSA5055 has a fixed:512 reference divider, therefore, with a 4 MHz reference clock, the phase comparator is working at 7.8125 kHz. For ADS-B reception, the main divider is set at around 12666 divisions, plus the :16 build-in prescaler, equals 1583.25 MHz LO frequency. Keep in mind, the SAT Tuner IF chain has a 480 MHz SAW filter, with about 27 Mhz bandwidth – therefore, I suggest to tune the receiver a bit to the edge (like 1103.25 MHz in my case, for 1090 MHz reception) – this will improve the shape of the output signal.
Step (2) – disable the AGC circuit of the TDA8012 by lifting Pin 9 of this circuit off the board (use a SMD soldering iron, and good lighting!). I connected Pin 9 through (unused) Pin 2 of the tuner to the outside world (33 k to VCC).
Step (3) – Now, some soldering – you will need a low pass and comparator circuit to convert the video, Pin 6 of the TDA8012 to digital output. The low pass is a simple 1 k/82 p RC network, the comparator a MAX903 (which is fairly high speed can can handle the 1 µs pulses, with fast risetimes at the output). Note that the MAX903 is open-collector, so you will need a 10 k pull-up resistor at the output.

Step (4) – connect to antenna, check with a scope (best a digital storage scope, triggered by an ADS-B “frame start” pattern) for signal at pin 6, and tune the LC tank circuit of the TDA8012 a bit, until the signal is clear. Just a bit of bending of the coil with a non-metallic tool is all that is required, if any.
Reception quality can be optimized quite a bit by adjusting both the LO frequency (around 1580 MHz), and the TDA8012 LC tank oscillator.
Step (5) – add a bit of peripheral circuitry – a MAX232 for the serial interface.
Decoding is done with a bit of assembler and C code, using a ATMega8-16, run at 16 MHz. Frames are being checked real-time, and only the “good” ones forwarded the PC software, via a 19200bps (slow!) serial link.