For year I have been using various Molex style connectors, 2.5 mm, 3.96 mm, and so on, but never by crimping own contacts. Criming is a special art, and if not done properly, it can cause all kinds of reliability issues. So I usually purchased pre-crimped wires, and just assembled them for contact blocks. In other cases, I just used regular pliers to mount wires to contacts, and soldered them in (best, to pre-tin the wire, then mount it in the contact with small pliers, then solder it in – this will result in a very reliable connection. Also, never use low quality wire, only full copper core, heavily tinned wire, UL 1007 or similar.
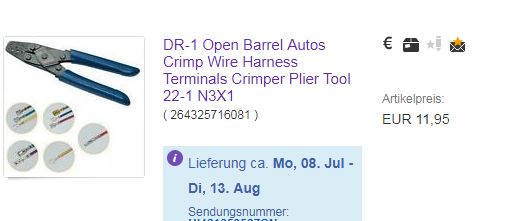
But why not try to crimp contacts ourselves and add a new capability to the workshop? So I went ahead, and ordered a low cost pair of crimping pliers, EUR 12, not bad.
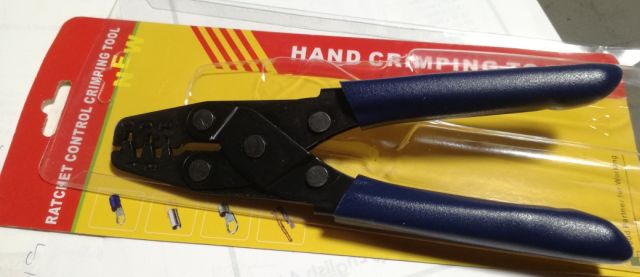
It made it from China to Japan very quickly, delivered by a friendly postman (here they are very friendly). That’s the tool: quality looks quite OK, and the steel is pretty hard. Sure this is not a high throughput production tool – I am looking at a few 10s of contacts every year, not 1000s.
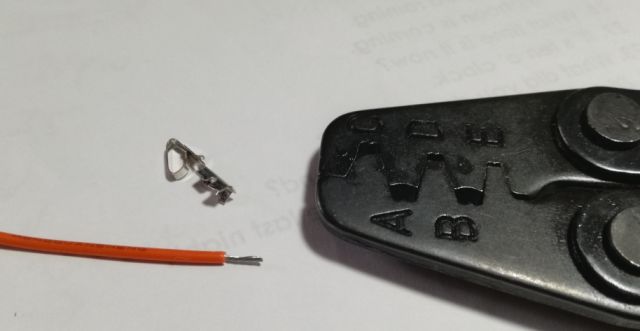
Step 1, remove the insulation from the wire, and get the contact and pliers ready.
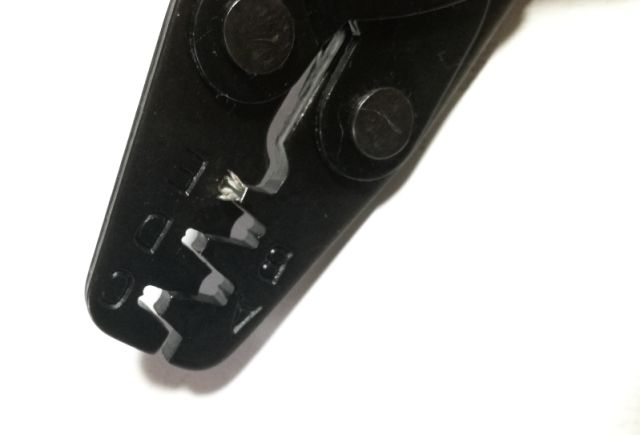
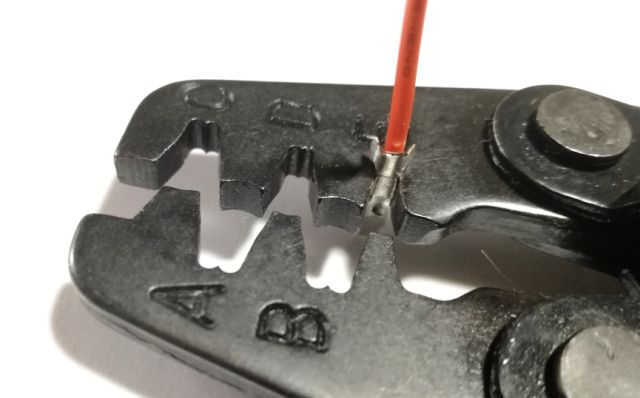
Step 2, insert the contact in the pliers, and close it until flush (don’t apply much force).
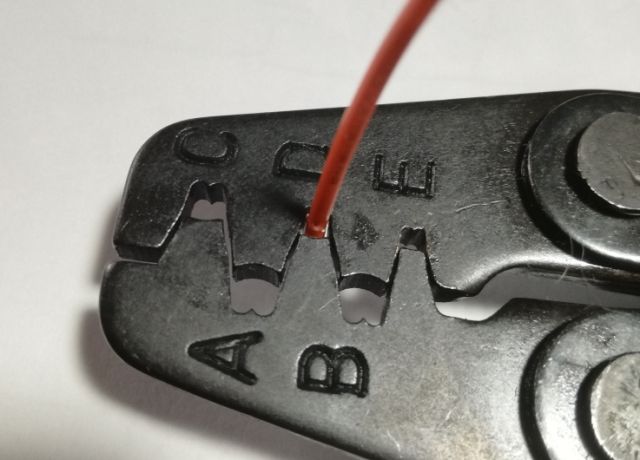
Step 3, insert the wire, and crimp the inner connection. Don’t get any of the insulation caught up by the crimp. It is a bit inconvenient to get the contact out of the pliers, probably will make a special tool for it (a U-shape bent piece of steel sheet metal to push out the contact).
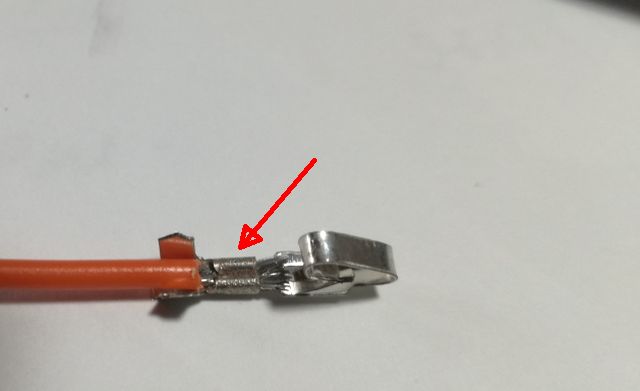
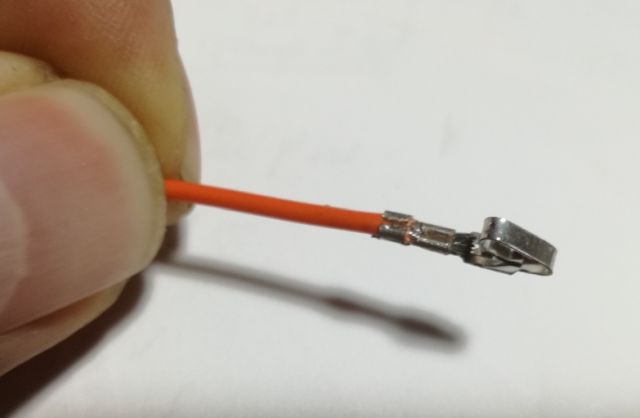
Step 4, Inspect the inner crimp. Use a magnifier if necessary (make sure no plastic and insulation got into the crimp area). Pull on the wire, it must be firmly held (a properly crimped wire can’t be pulled out by any reasonable force).
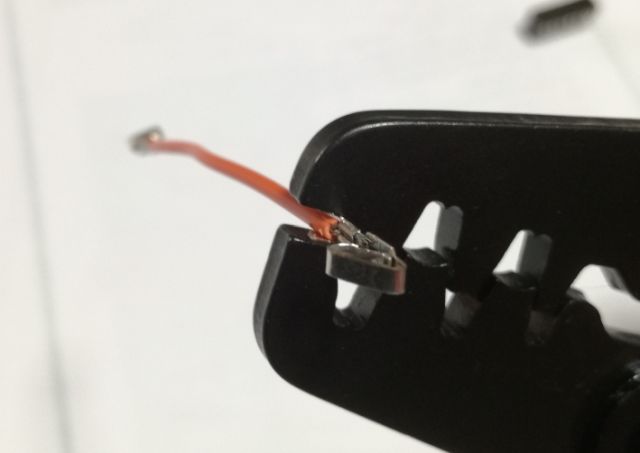
Step 5, slightly close the insulation crimp using the tip of the pliers.
Step 6, establish the insulation crimp.
Step 7 – It’s ready. Inspect. Carry out pulling test.

