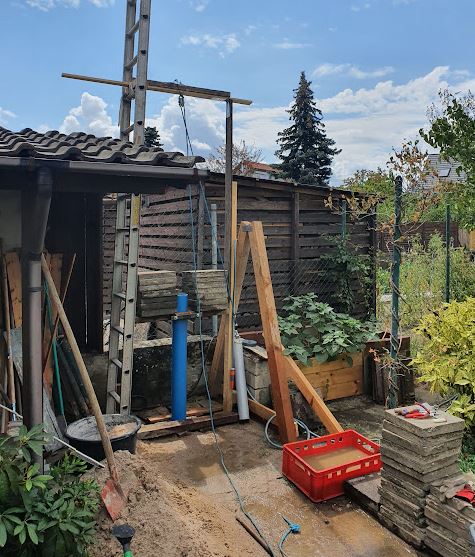
Since I have moved to my new house, there are extensive gardens that need plenty of watering these days. So far, I have been using a 1984 driven (abyssinian) well, merely a 1-1/4″ steel pipe rammed into the ground. This well has been struggling to provide enough water, less than 500 L per hour. Probably it has reached the end of its life and all attempts to rejuvenate it helped for a while, but I have been looking for a more permanent solution.
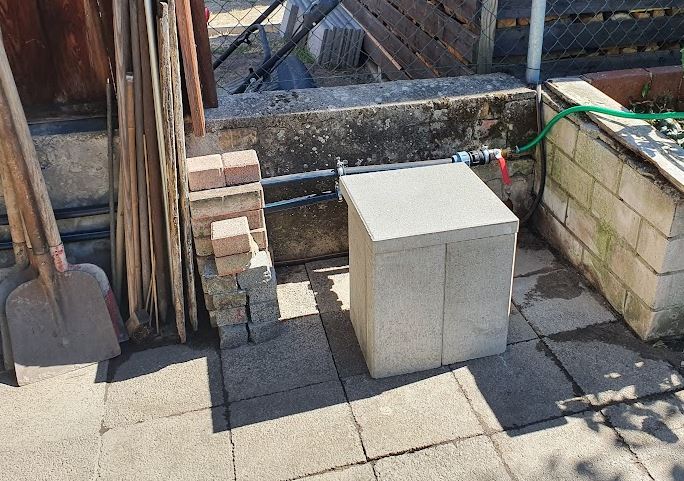
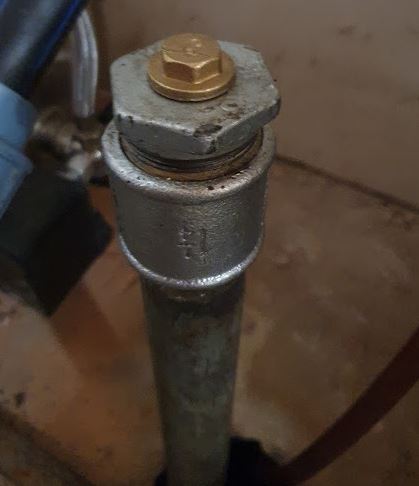
That’s the old well – now closed with a cap!
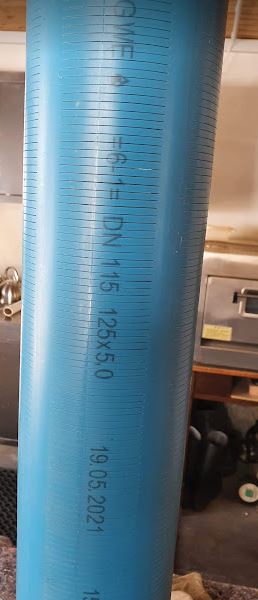
Rather than building again a driven well, which is not quite suitable for the quantities of water that I am looking for, say, 2000-3000 L/h rate, I decided to try a drilled (open) well. Size DN115, which is 125 mm outer diameter, 5 mm wall pipe, specially designed for wells (GWE well pipe, PVC-U, K-series).
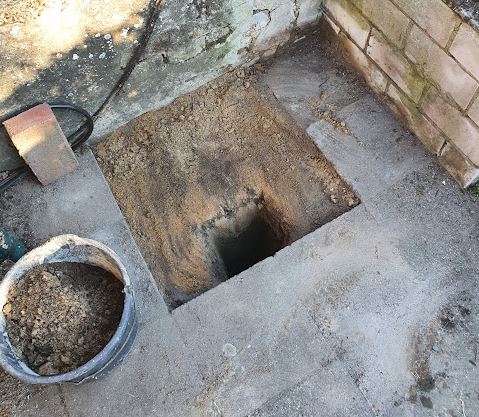
The first 80 cm were easily dug with a spade, it is mostly sandy soil with some gravel stones.
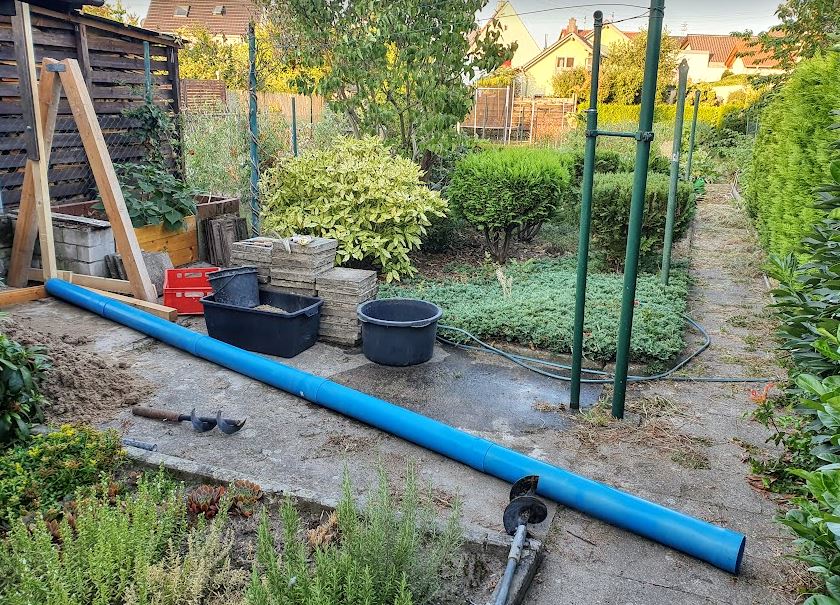
Further, I needed to use a soil drill. A neighbor provided it generously, and with some old pipes extensions were made to reach to about 6 meters.
The soil here in the Rhine valley is quite suitable for these kind of drills, in just two hours or so, and with plenty of sweat, the whole reached down to the water table at around 4 meters. Still removing some sand, but you can’t drill into a mixture of water and sand… it will just form a cavity.
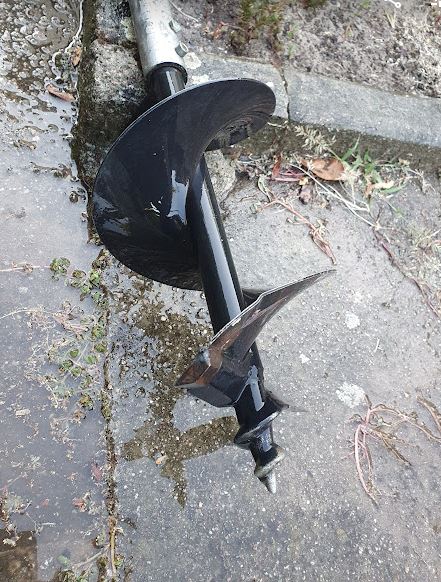
There are other kinds of drill, but this is a close-up, a large corkscrew.
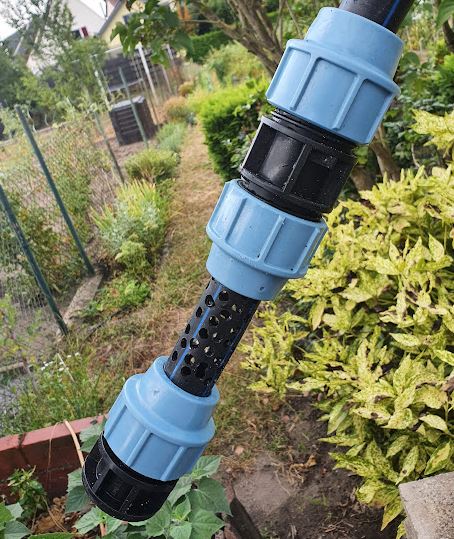
Before we proceed, we need to insert the pipe, now assembled to 4.8 meters: 0.8 m sump, 2 meter filter pipe (0.3 mm inlets), 2 meters of plain pipe. It is not all that heavy and I managed to get it in quite easily.
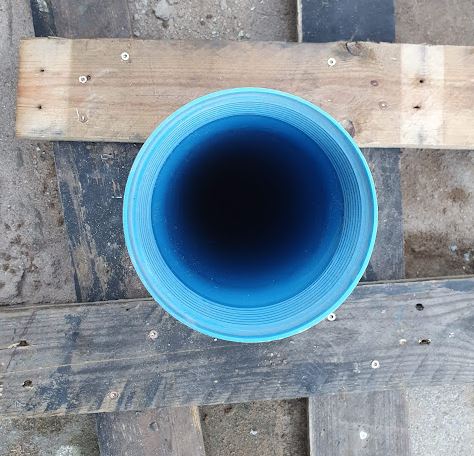
Now, we can already see almost to the center of the earth, at least, 4 m closer to the center…
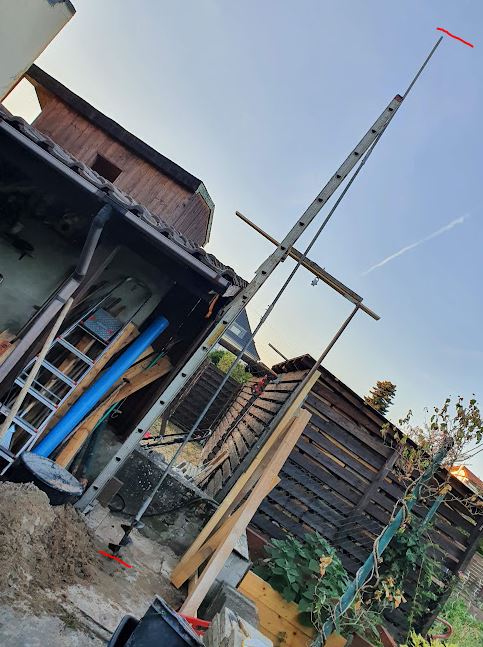
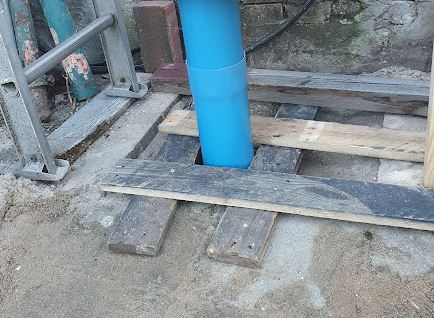
The pipe needs to be securely mounted so that it can’t move around too much.
Next, we have to deepen the well by a process called plunsching. Bit by bit removing the sand from the inside, and lifting it up with the device, which is basically a steel pipe with a valve at the bottom.
It worked well with coarse sand, but with finer sand, I needed to tighten up the seal and modified it a bit to close tightly. Otherwise the fine sand tends to run out.
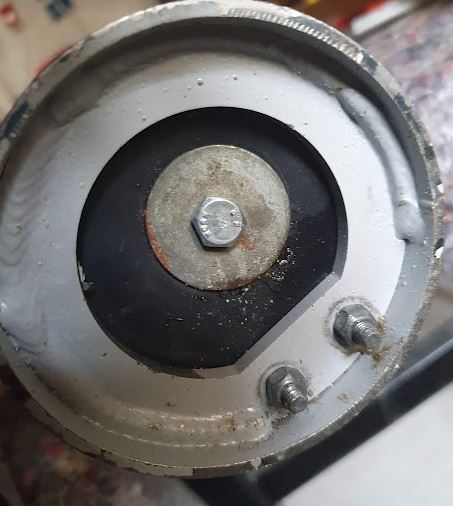
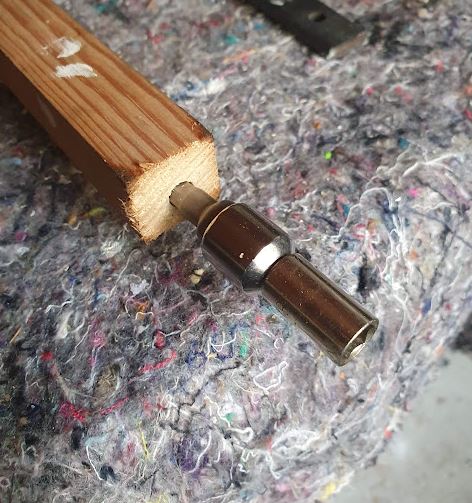
Also needed to make a special tool to reach to the screw at the bottom. All a bit inconvenient, but it works.
Also critical is the loading of the pipe, first, I added about 150 kg, later about 240 kg. Easily managed by some old concrete pavers that are about 10 kg each.
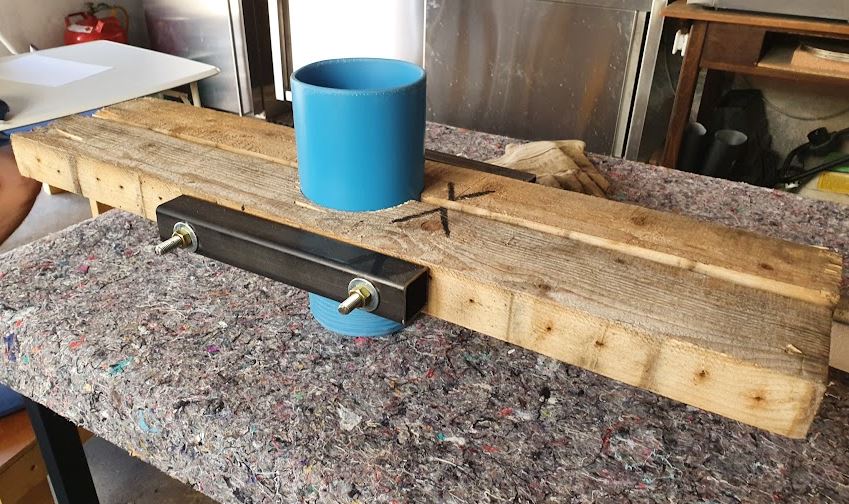
The plunscher, I attached it with 3 chain links to the rope, this held it better in place and it could be handled easily.
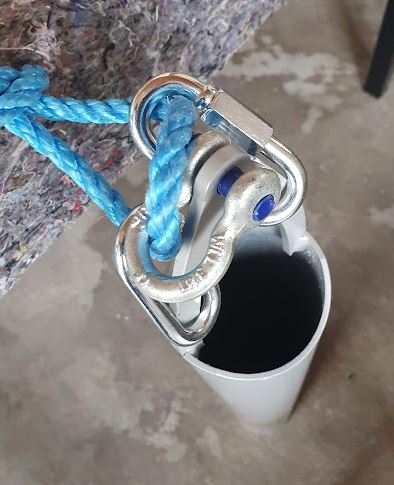
With up to 350 kg, (the load an my own body weight from time to time), we are well in the save area of the weakest link, the filter pipe.
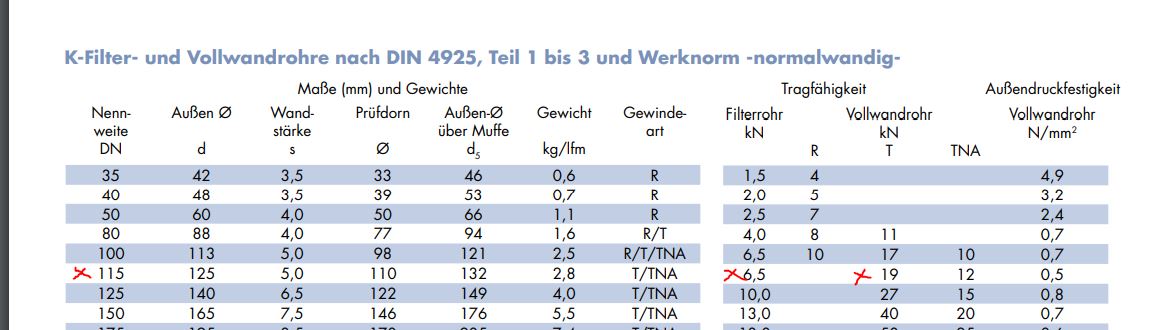
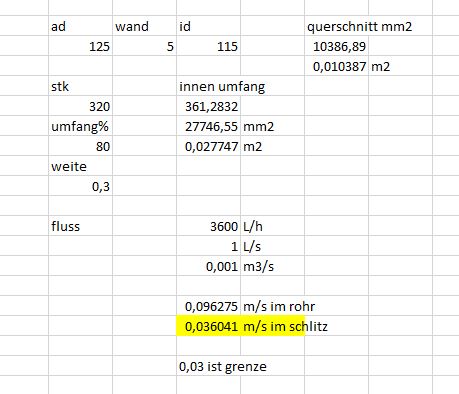
According to the manufacturer, 2 meters of the filter pipe used should be good enough for nearly 4000 L/h, I may take 2000~2500 L/h, so there is a good safety margin

It is critical to stay below about 0.03 m/s water inlet speed, otherwise there may be effects detrimental to the lifetime of the well.
The cuts in the filter pipe are pretty precise, hard to do this at home.
After about 6.5 meters, things got really difficult, with fine sand, which was also pretty much solidified. I used various tools including water hoses and a mud sucker (a pipe with a PU hose inserted, pointing upwards inside the pipe). The mud sucker uses compressed air (I just supplied the full amount my compressor can generate) and at the top a mixture of sand and water will come up. It is a little mess, but convenient to operate. Also I added plenty of water to the well to keep the level as high as possible, otherwise further sand may be sucked in.
Finally, I reached a layer of clay, and with the help of large quantities of water and air, I managed to dig some 20 cm into it, but it seems really solid and pliable clay.
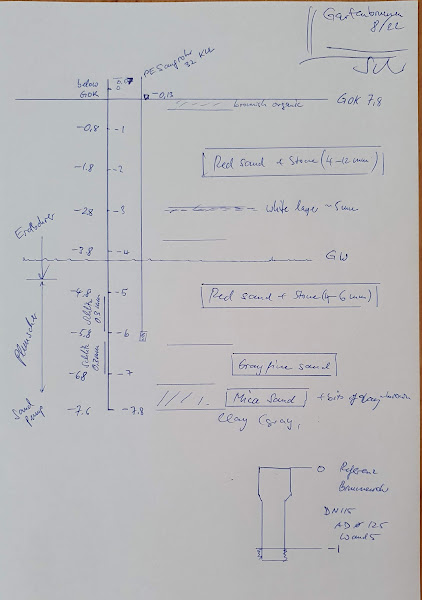
This scheme shows the well as sunk. it is about half-filled with water, and the suction point is located between the two filters, in an area of no inlets. Ideally, the inlet should be above the filter pipe, but I wanted to allow at least 2 m of water column above the inlet, and with the pump outside the well, the turbulences and local load on the filter pipe will be minimal.
The inlet is just a section of pipe, with many holes drilled into it.
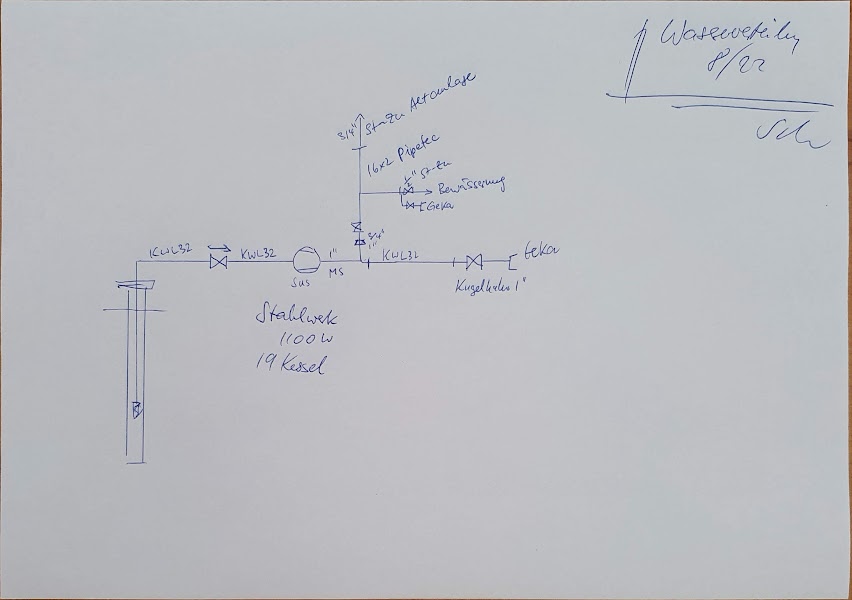
The distribution system and piping as mostly done with 32 mm cold-water PE 100 pipe, connected to legacy 3/4″ piping of my workshop and garden, and some newer pipe (16×2 Pipetec composite pipe).
After only just a few minutes with an old pump to remove dirty water, already the water became nice and clear. Maybe because of the thorough work with the sand pump, there was not much dirt to remove. Also I decided against closing the bottom of the pipe, which now seems to be very solidly embedded in clay anyway.
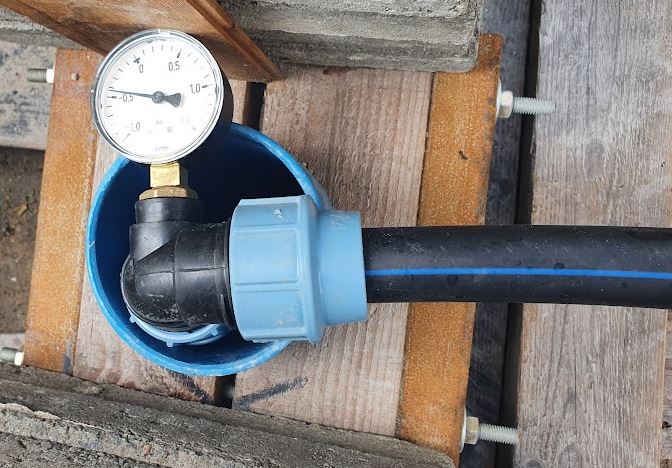
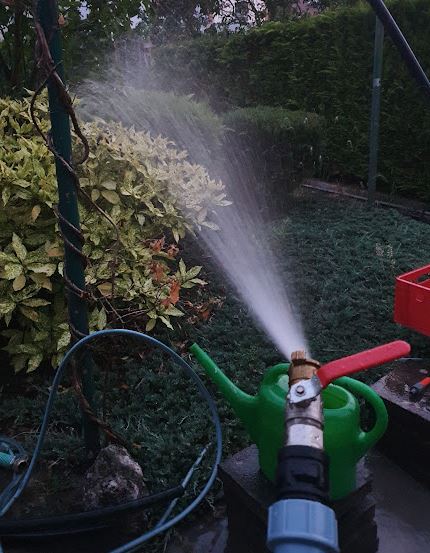
The water is pouring out plentifully, it is pleasure to the eye and a delight forever!
Everything else could be done easily, just mounting a few pipes and machining a lid from 30 mm PVC plate.
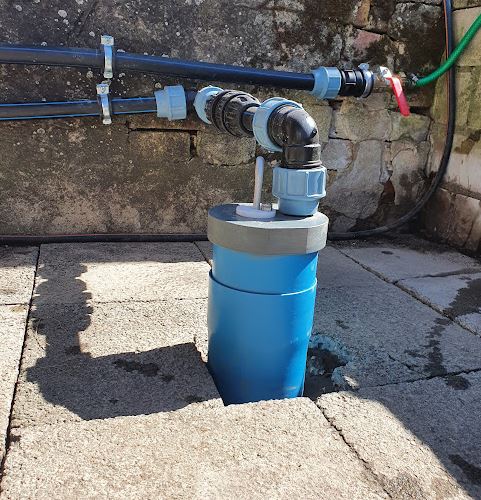
Finally, protected it with some concrete plate and stones while providing easy access for removing water from the pipework in winter, basically, just opening the check valve at the top.