Following up on an earlier post, , design is now complete and a test unit has been completed.
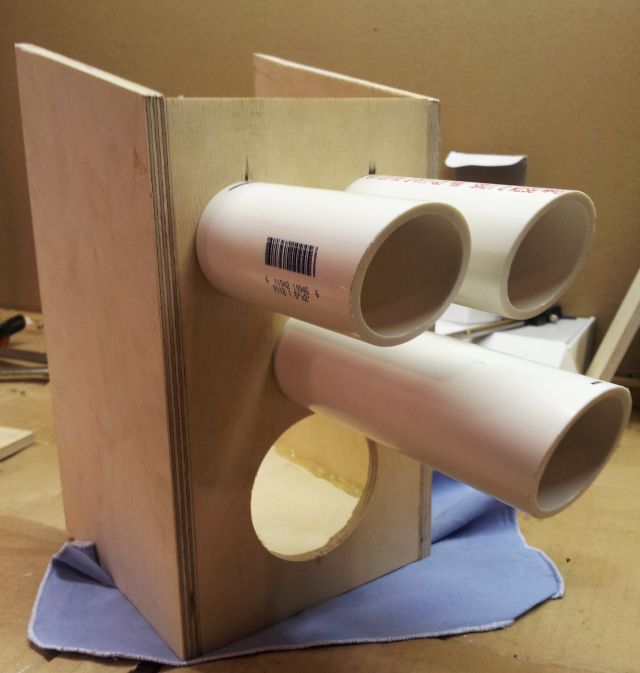
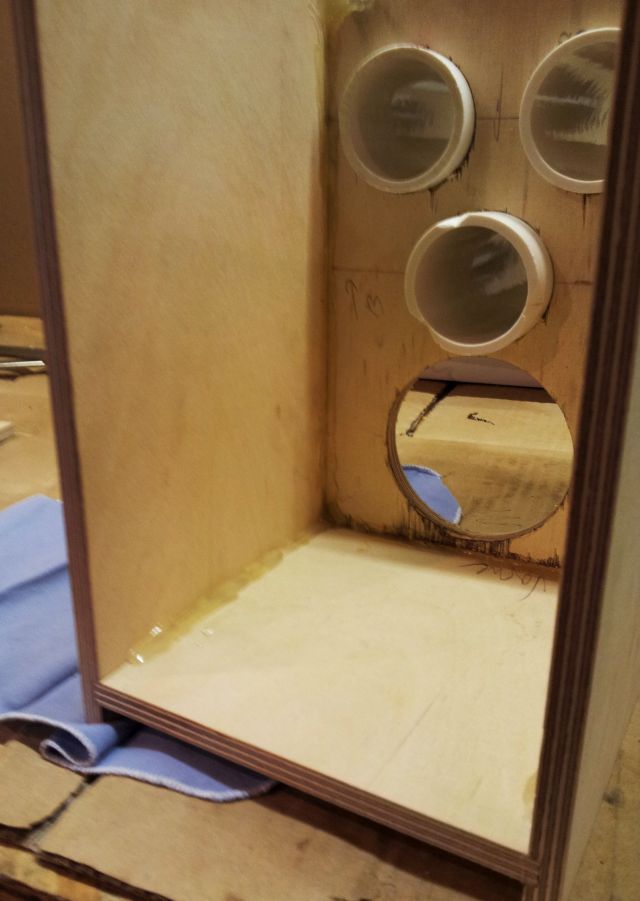
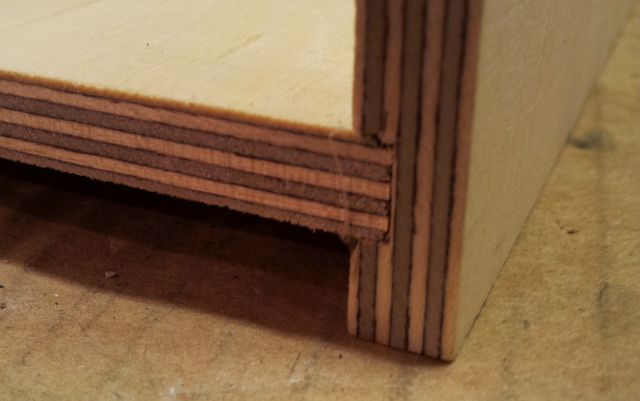
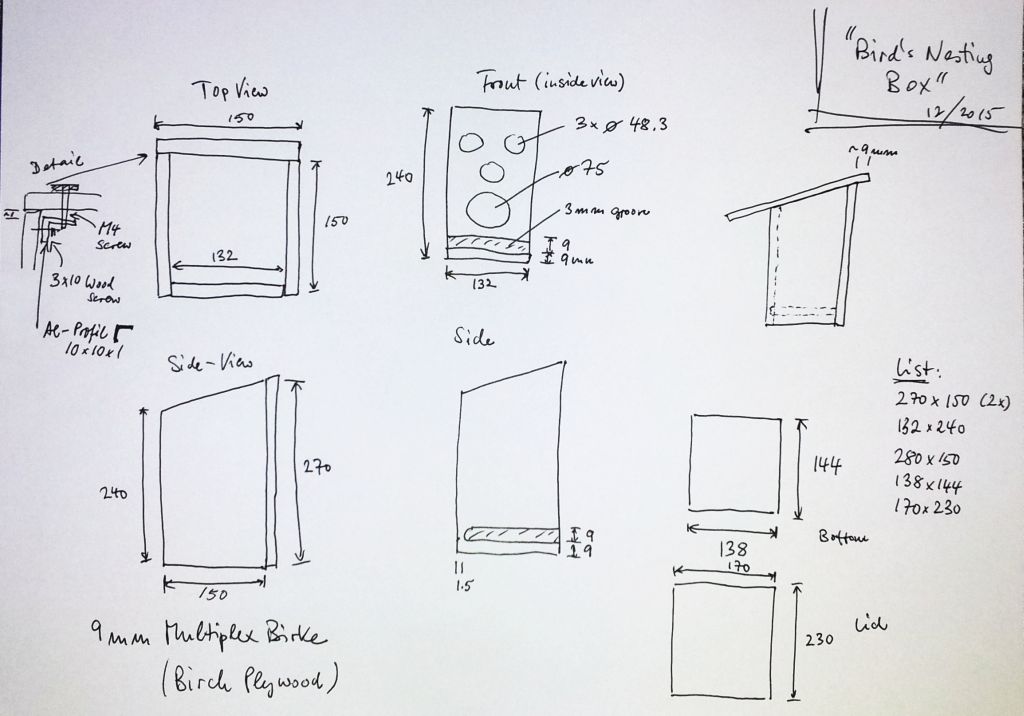
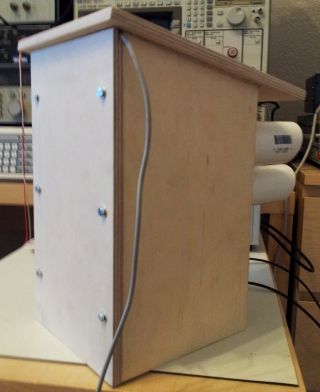
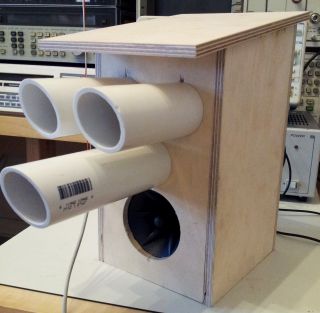
First, a nesting box was made using 9 mm birch plywood. This can be varnished, to any color you like, and is in itself very much weather resistant. All edges and gaps were sealed with hot glue. For added stability, the bottom plate is inserted into a grove of the side and front panels.
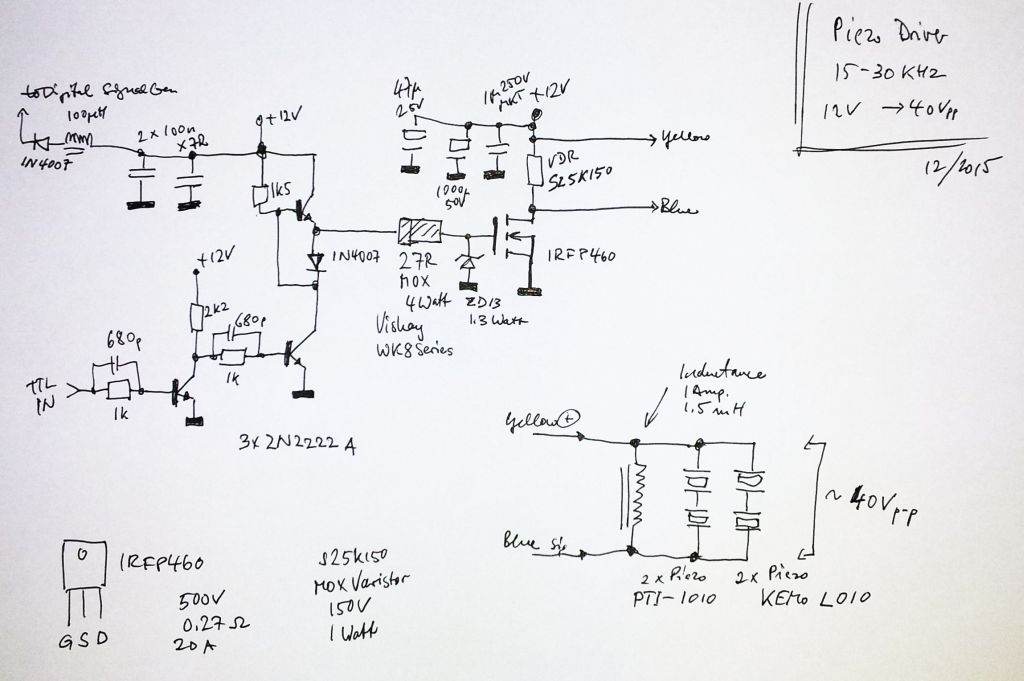
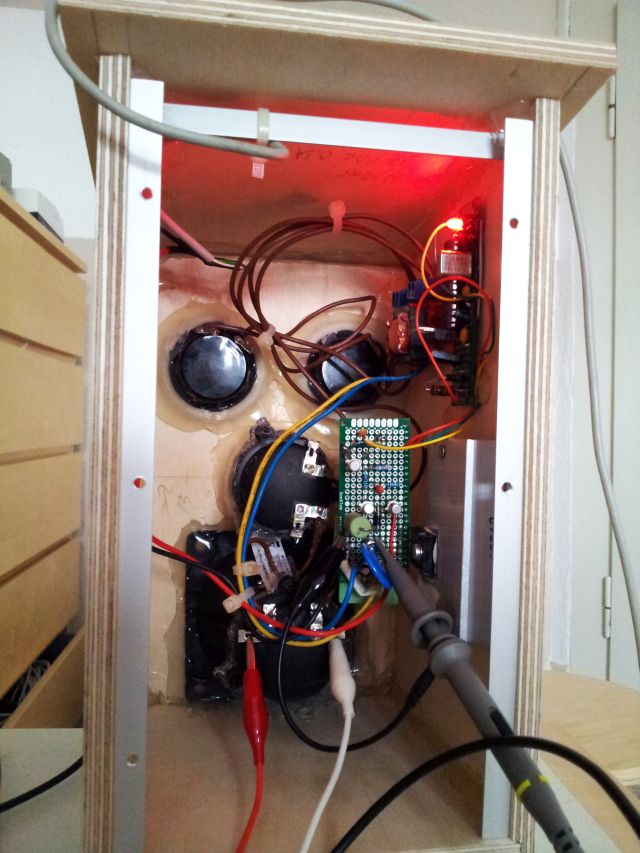
The driver was upgraded a bit, from the earlier version, by using a IRFP460 MOSFET. This is a very sturdy part, and will most likely not fail even under some severe operation conditions. It it can also be mounted to the heatsink in an insulated fashion, without any special washers, etc. – this is the main reason for selecting it.
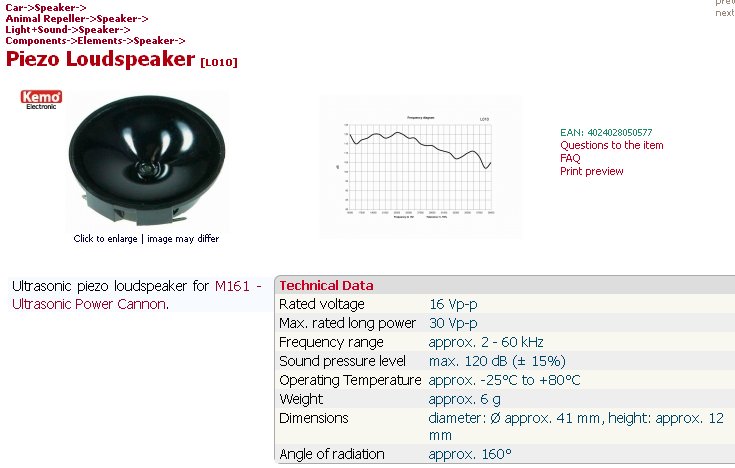
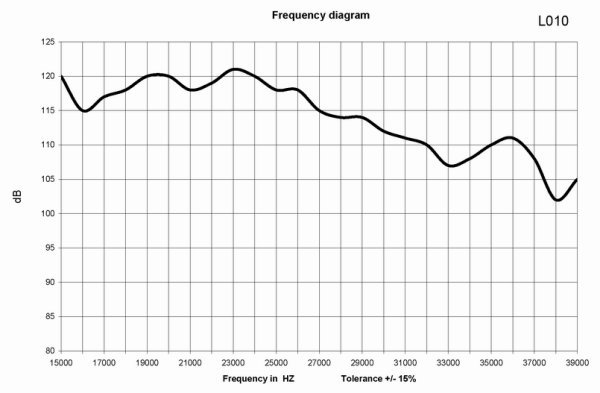
The speakers are 2x KEMO L010,
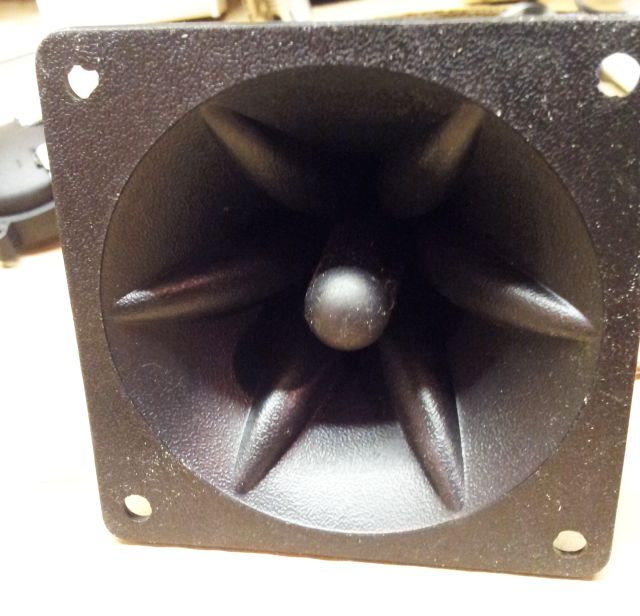
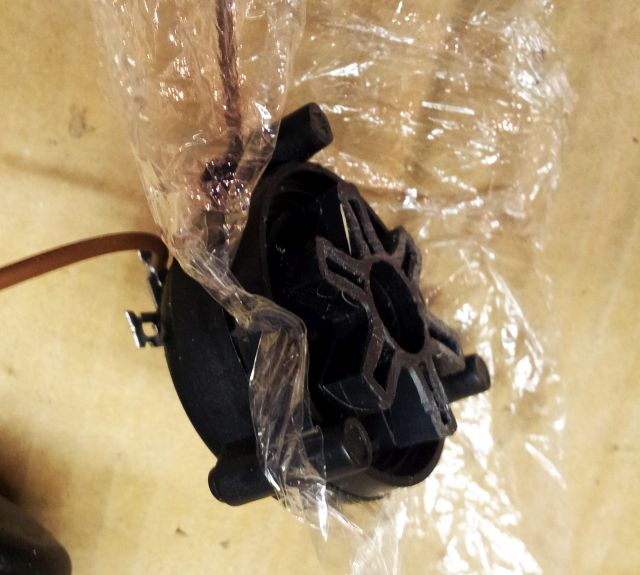
and 2x PTI-1010; one of the PTI-1010 has its horn cut-off; both were fit with two layers of wrap foil to protect the membrane (PTI-1010 has a paper membrane, whereas the L010 has a plastic membrane).
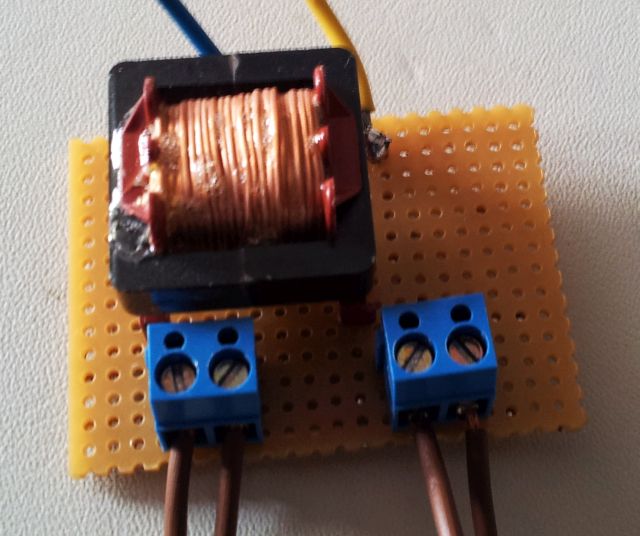
One key component of the setup, an inductor, in parallel with the speakers. This converts the capacitive load of the piezos to a much more well-behaved load, resonance frequency of the setup is a few kHz. The coil needs to be capable to handle currents of 1 Amp easily, otherwise, it will heat up and may even fail. The one used here may be a bit oversized but it was on hand and still has acceptable size and dimensions.
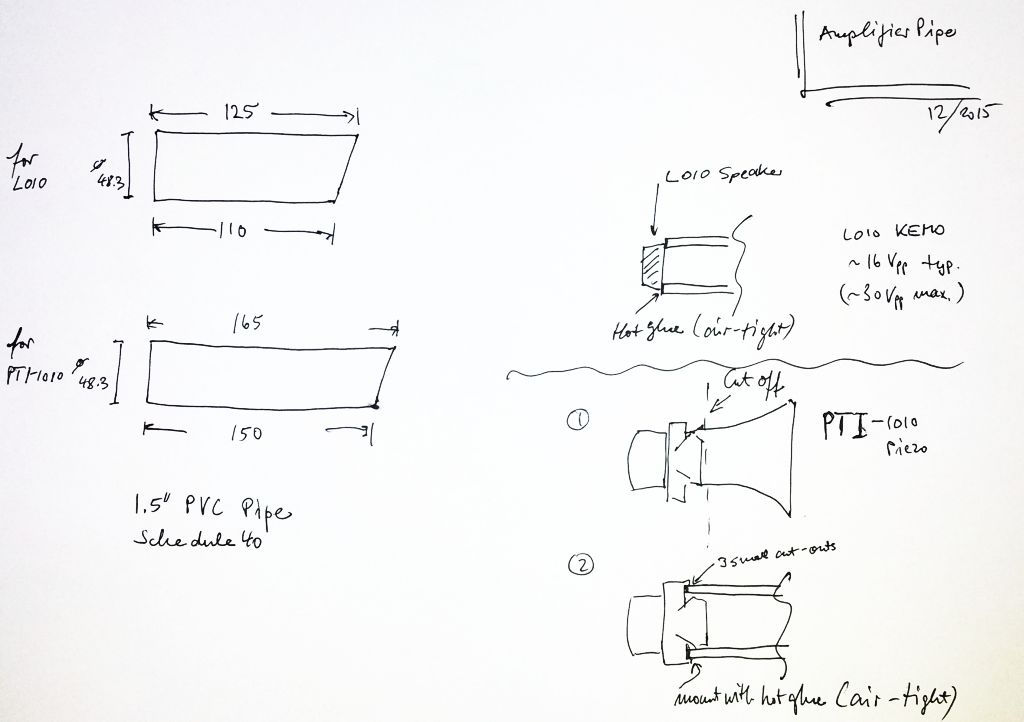
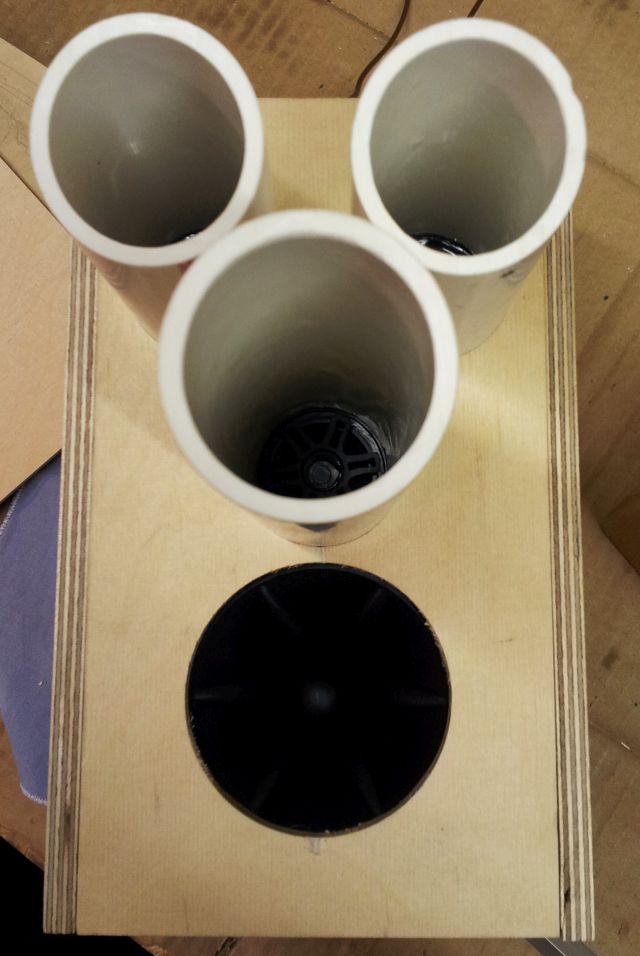
Three of the 4 speakers are mounted in Schedule 40 1.5″ PVC pipe (this pipe is common in the US and dimensions match well the dimensions of the speakers; you can use other types of plastic pipe as well).
The holes in the wood panels are precision machined, for a snug fit with the pipes. Hot glue is used to seal it all together and to firmly lock everything in place.
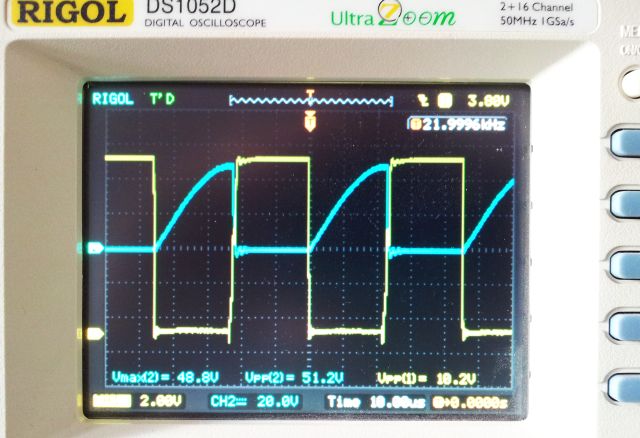
Typical waveform during a test run, driving at somewhat above 12 VDC to test system durability… gate drive (yellow) and source-drain voltage (blue).
Final testing…
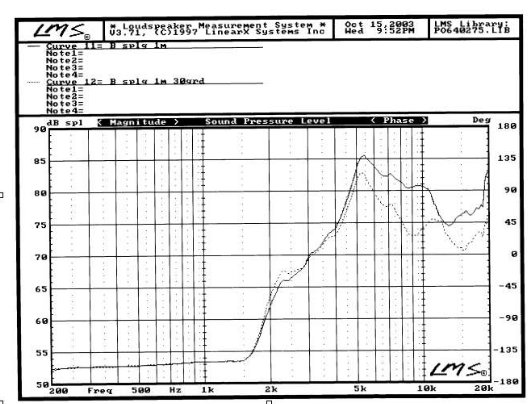
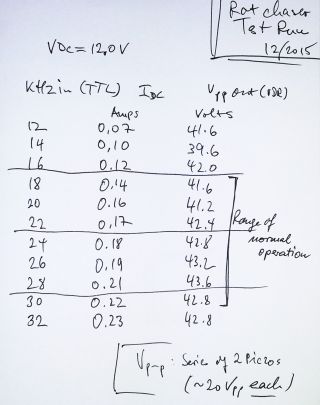
Operated from a 12 Volts DC supply, the final tests show that the output voltage is pretty much in line with the allowable voltages for a series connection of two L010 speakers, and flat over the frequency band of interest.


Hi Simon
Great project!
I wanted to build something similar. Looking for some know-how I landed on your website. Feel like it’s too difficult for me to build what I found here, I mean the electronic circuit. I guess I could drive the L010 speakers from an amplifyier, anyway, my question I wanted to ask is about the inductance parallel to speakers: is it 1.5 milli or 1.5 micro?
Thanks and regards
Chris
Hi Chris, it is milli-H. Not too critical value, you can use something similar.