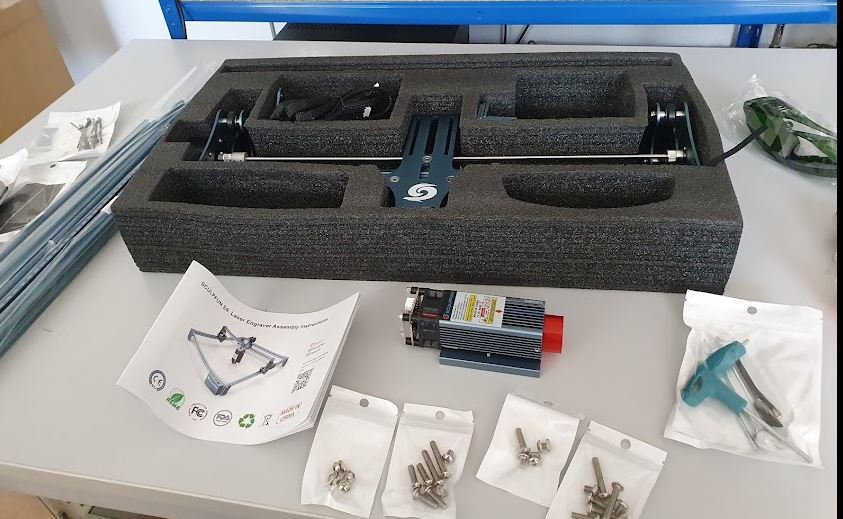
There are various laser engravers or cutters available in the market, so it is hard to make a choice. Finally I got a Sculpfun S9, which appears to be well-regarded in the community as a cost-effective and capable machine. I was also looking for something that is easily serviceable, not using custom controls or special motors – the Sculpfun S9 is built from all relatively standard components so it can have a very long service life even if I eventually need to fix the electronics or replace the controls altogether.
The machine ships as a kit, but there are good instructions for assembly, step-by-step, even the screws packaged for each step in a separate bag.
The machine is fairly portable, so you can also set it on the surface of large panels to do local engraving or similar.
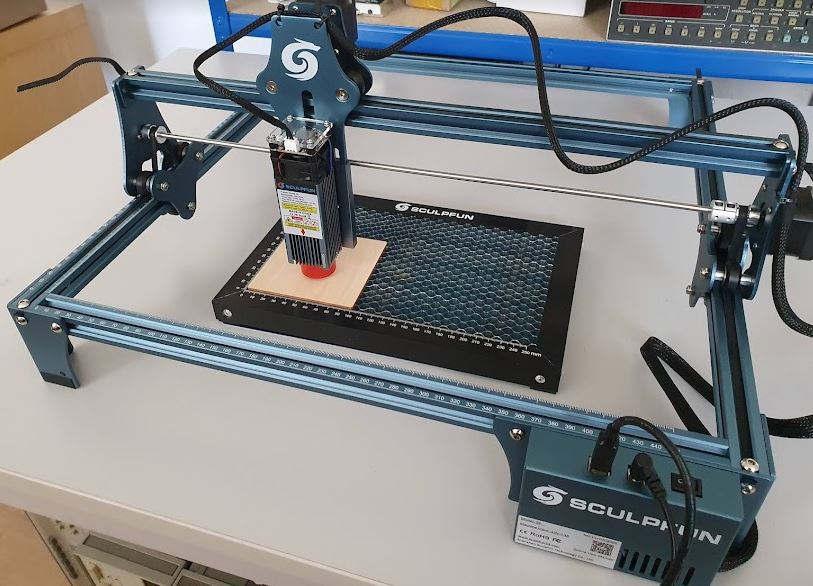
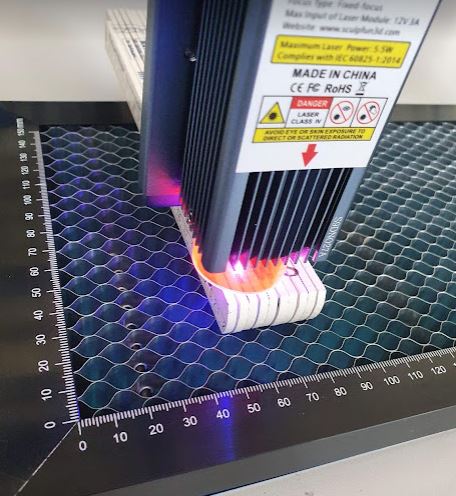
Some first tests, works very well indeed! Just the smell of burned wood and plastic – it is really not a machine for an apartment, and the laser also seems no toy for kids. It is fairly strong and can be dangerous. This laser has a very sharp (maybe 0.1~0.2 mm beam) that cuts through several mm material in a single cut. No good idea to get your fingers in the way.
You can also cut foil. Maybe better to use a knife cutter (because of the smell and vapors), but for some once-off jobs, it is easy to use and also cuts uneven old foil very well in my test. Better use some magnets to push the foil down on a piece of sheet metal.

The main application that I am looking for is to cut custom seals from plain seal stock. The machine cuts well through 1 mm Elring Abil plate, and similar materials. Even thin rings can be cut, no problem (very hard to cut with a cutter knife or punch).

Next step will be to get the machine properly installed. This means, adding an air nozzle to assist with cutting (made from brass), a machine table, and an enclosure with exhaust fan to get rid of the toxic vapors.
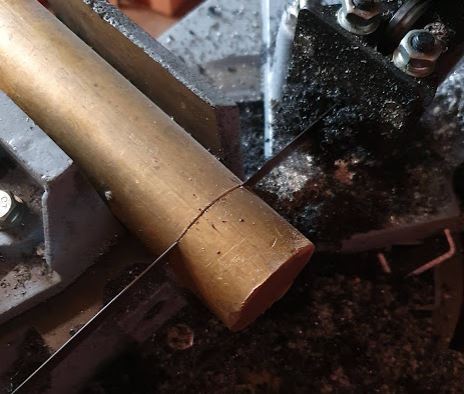
The nozzle is made from a piece of brass (several of these pieces purchased at a scrap yard 25 years ago when I was still a kid).
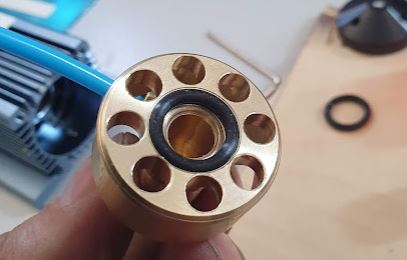
The nozzle has a side inlet, and is designed for about 20 L/min with 1.5 mm diameter, so we are looking at 150~250 m/s linear velocity at the nozzle outlet.
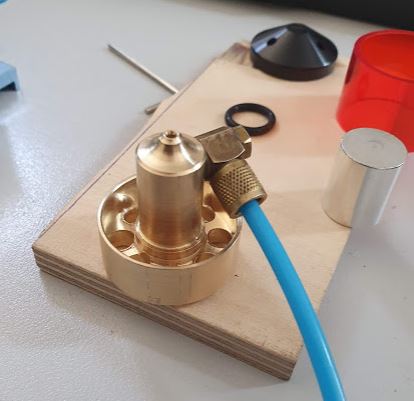
The gas is fed through a 4 mm PU pneumatic tube.

To measure the air flow, we are using a very cheap Chinese gas flow meter. This has a needle valve, but it is not working well – the needle valve puts a spin on the gas, and the indication is incorrect (the sphere starts oscillating and spinning), so I use a separate needle valve (FESTO GR-QS-8) in the supply pipe.
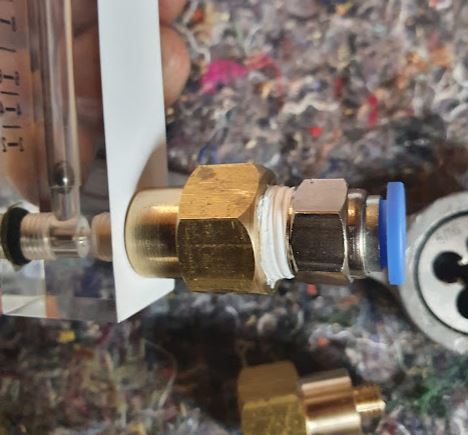
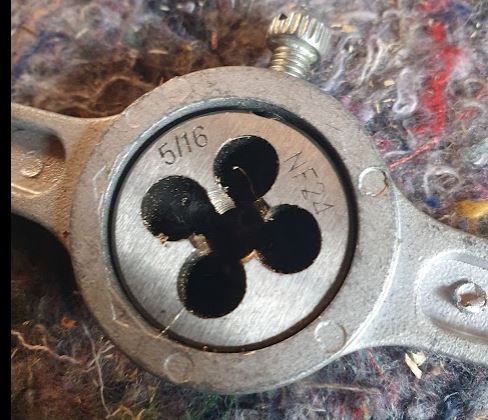
The flow meters comes with flimsy plastic connectors, and these have 5/16″ UNF (24 TPI) tread… not a very common part in Germany to get a transition from 8 mm pneumatic tubing to 5/16″ UNF…
Fortunately, found a suitable thread cutter in my tool selection, so an adapter was made quite easily (from 5/15″ UNF to 1/4″ NPT, then us a 1/4″ NPT to 8 mm push-in tube connector).
The next step has been to make a suitable table, sure you can put the laser machine on some ordinary table, but it has quite some speed and movement and even relatively stable tables will be moving and there is some impairment of precision. So I wanted to give this machine a stable basis that doesn’t shape. It is all welded construction from about 1.5″ square steel pipe. The top is 18 mm waterproof plywood. There will be a piece of zinc-plated sheet metal on top, also to use magnets, and a open cutter support plate on top in case of heavy cuts.
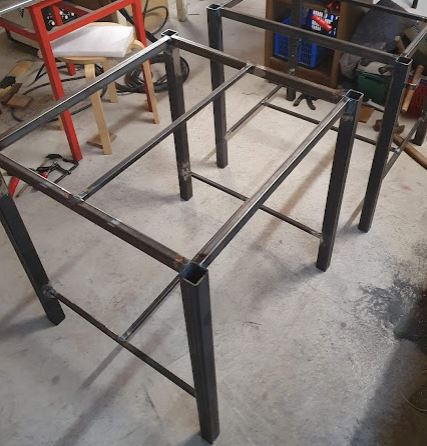
To fabricate such a table, after the welding is done, grind off the scale (this is just plain steel), clean with acetone, and then roll-on some primer paint.
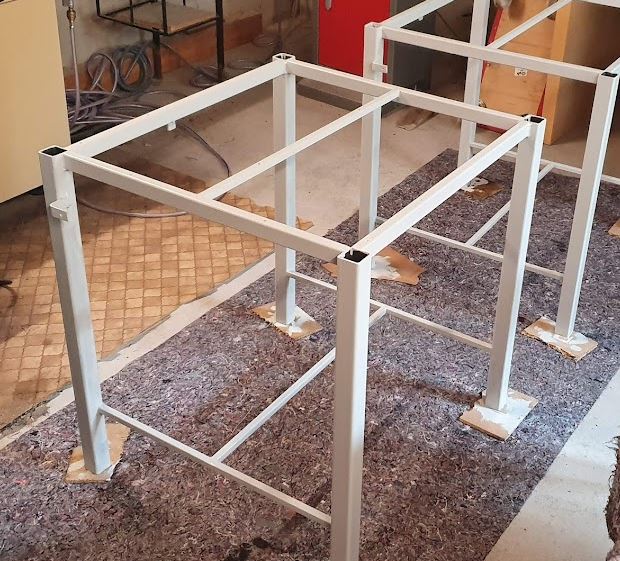
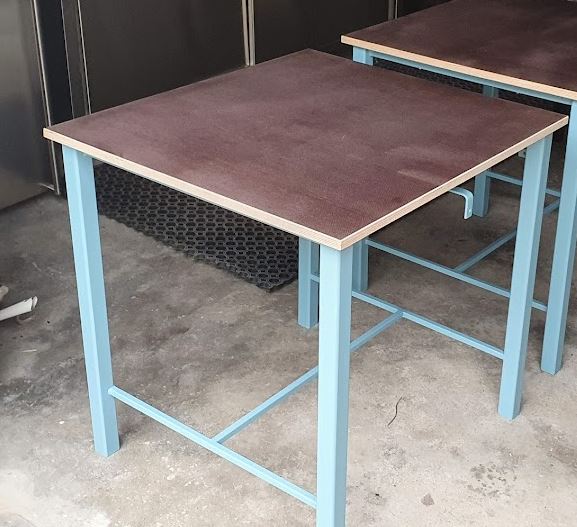
Finally, painted in a blue-gray color, and with the top plate mounted.
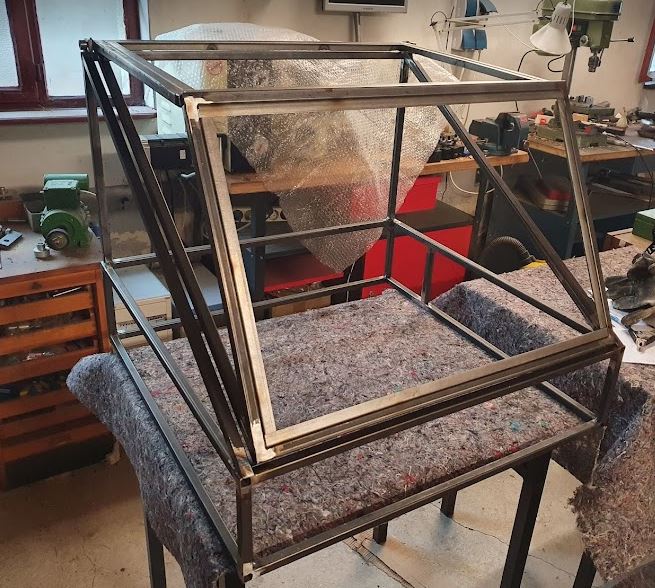
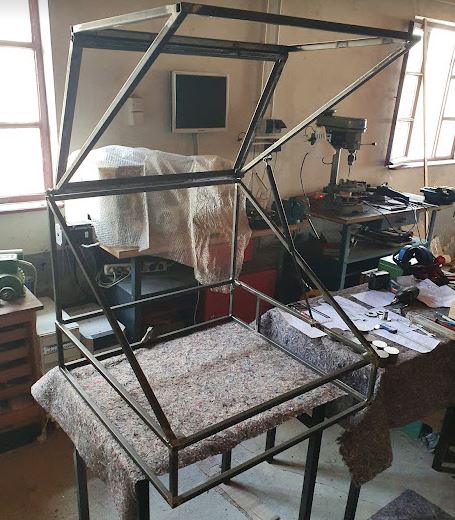
Next step, fabrication of an enclosure with a movable cover. All made from 15×15 mm (about 3/4″) square tube, all TIG welded…. looks easier as it is with all the parts and angles.
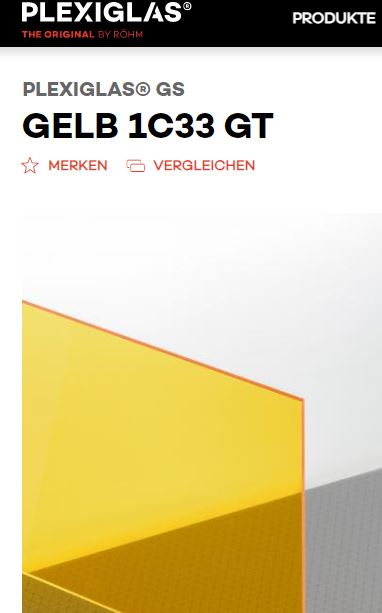
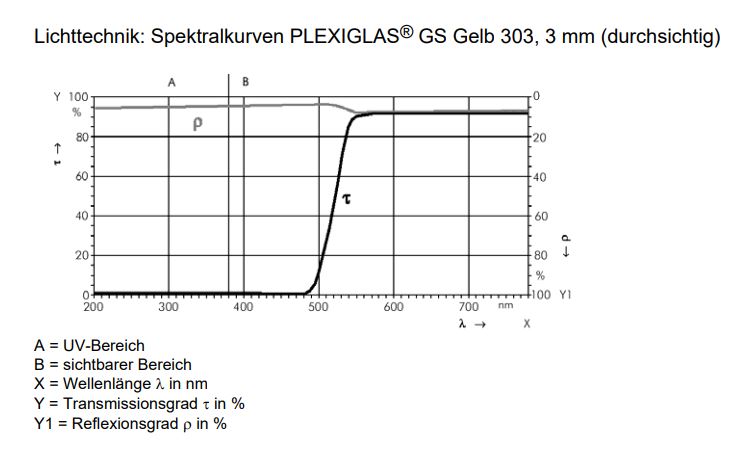
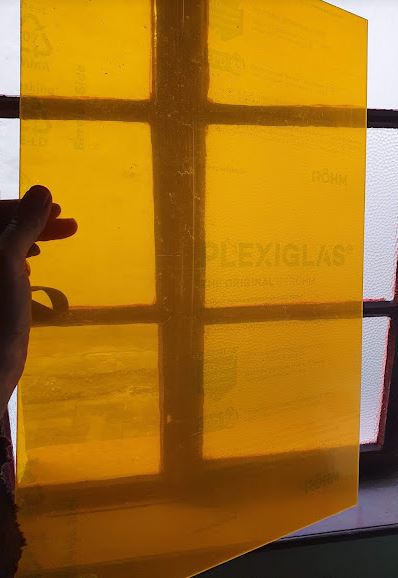
There will be two large windows, 40×60 cm, to observe the process. I selected GS-1C33-GT Plexiglas (acrylic glas) which is nicely transparent for visible light, but blue light of the laser can’t pass at all.
This is also confirmed by the spectrum, the laser is emitting at about 452 nm.
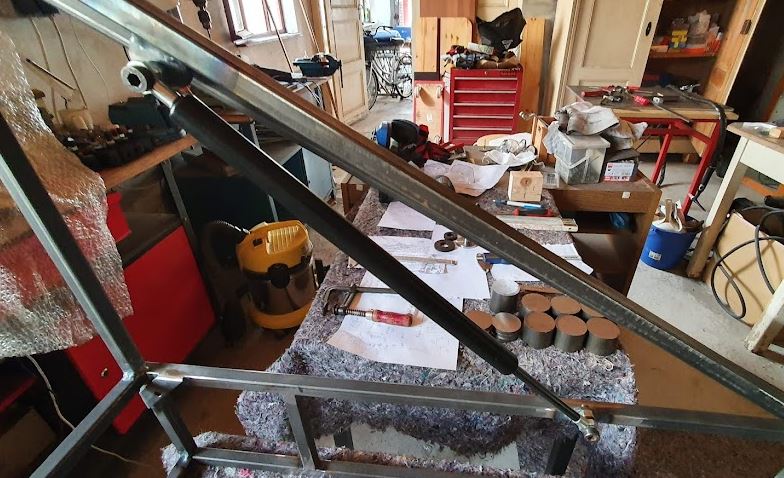
After some hours of work, the enclosure is ready for painting. It opens nicely and smoothly, also because of a gas spring (200 N, 535 mm total length, 220 mm travel).
It is one of the few occasions that I have use gas loaded springs in my design but it is working well. Just the design calculation is complicated and probably it is always a bit of experimentation to find the right gas spring size and force. But this time, successful at the first attempt. My recommendation, to rather use a slightly stronger spring (say, 200 N if 150 N is calculated) to allow for aging of the spring or other design uncertainties.