Recently, I got a HP 8566B at very low cost, unknown working condition of course. First, it would not power on, at least not fully. Some activity on the 8566B, but no display at the 85662A display unit.
Clearly, next step, to open it all up and do a good survey. Quickly found the issue in the 85662A power supply board. While all the other boards where good and clean, the power supply boards are directly in the airstream and showed some leg corrosion of transistors. Especially, 2n2369A transistors, and the famous 4-404 HP transistors (not that the 4-404 is anything special, but there are no replacements mentioned by HP.
![]()
Recently I found in some late 8662A boards that HP subsitute the then obsolete 4-404 with a MPS6521, a high gain NPN transistor. So I did the same and put in BC337-25 (-40 may be a closer match but not at hand here).
![]()
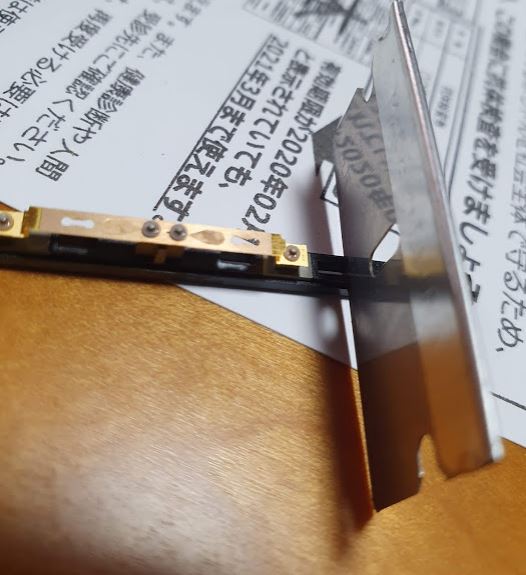
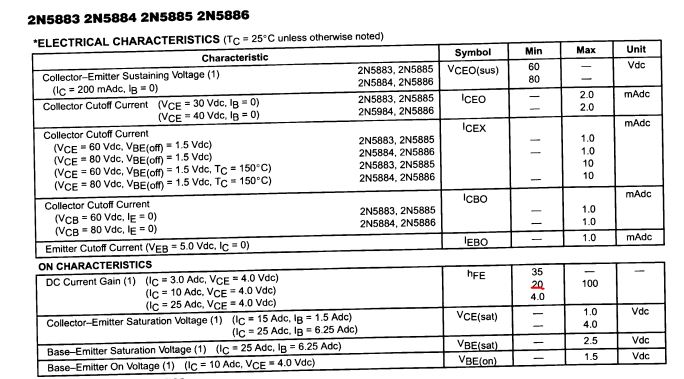
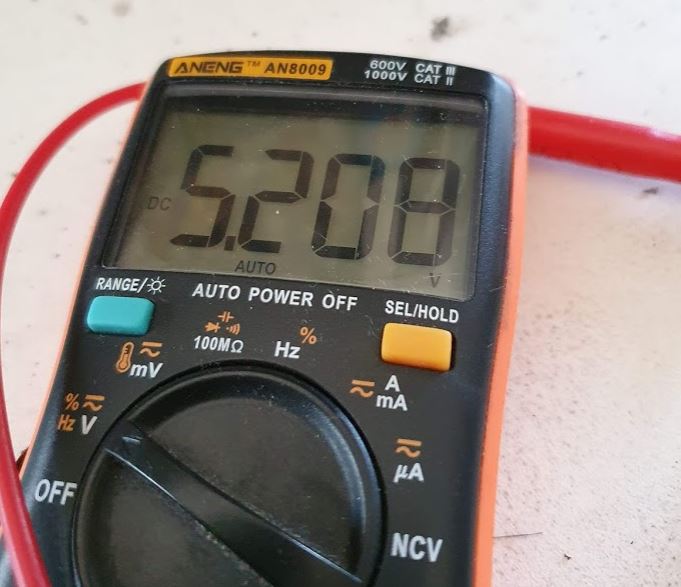
With these fixes, the 8566V turns on just fine, but it doesn’t turn off well. The 5.2 V rail goes high a little, and then nothing happens, no power down, when you switch the analyzer off. So measures all currents and voltages in the 5.2 V supply, and finally traced it to a defect of the main power transistor, a 2n5886 equivalent power NPN transistor in TO-3 case.
Checked it out internally, the defect is actually within the area of the bonding wire connection. So the transistor became better, non conducting, once I pulled of the bonding wires and measured directly on the die.
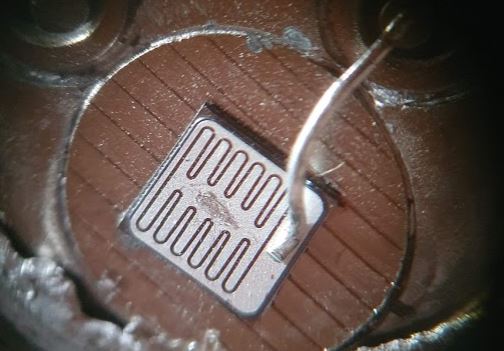
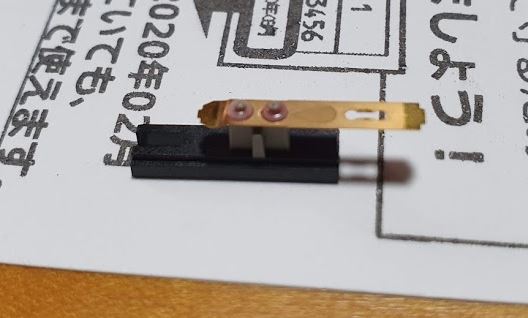
Quickly ordered some 2n5886 from China, a bag of 5 for less than a dollar a piece including shipping. Well, you get what you pay for. Look at the small die, the missing plate (die is directly bonded to the steel case, the bonding wires much thinner).
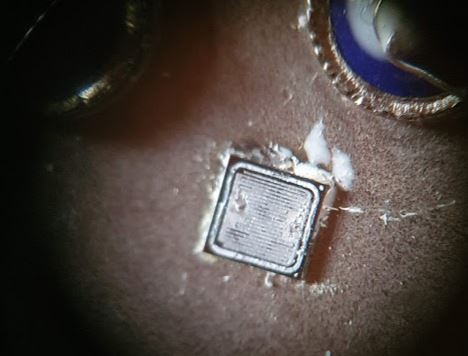
Doesn’t look like a genuine ON brand device, even the marking is not in accordance to the datasheet.
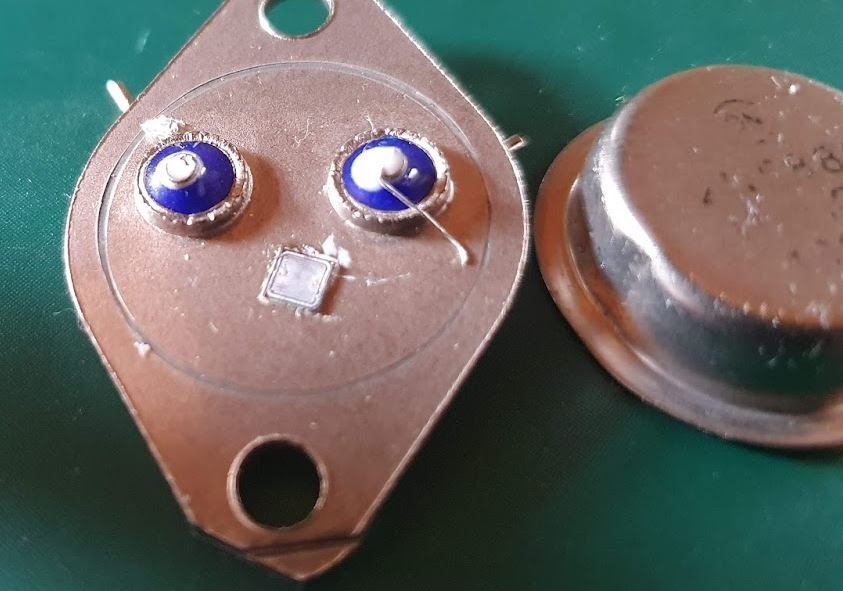
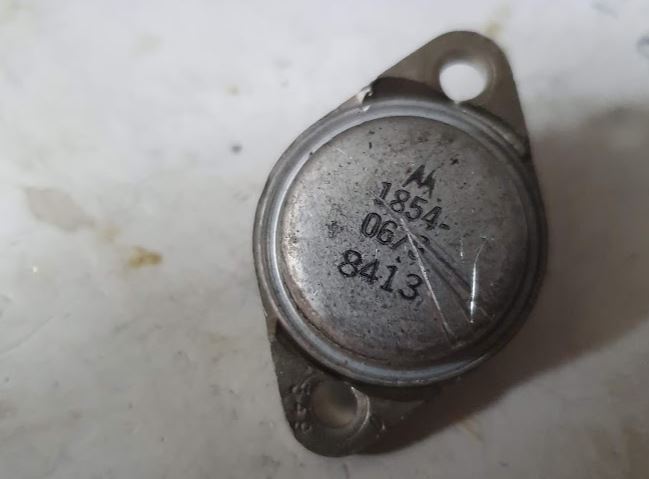
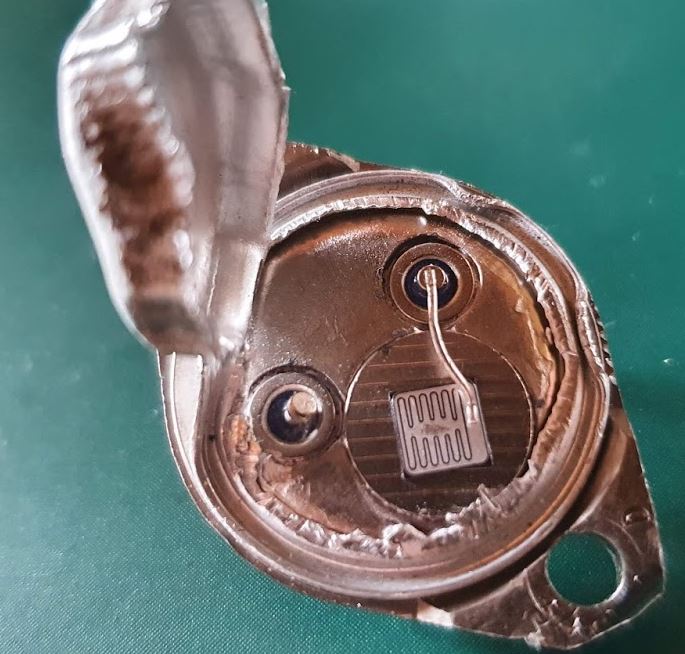
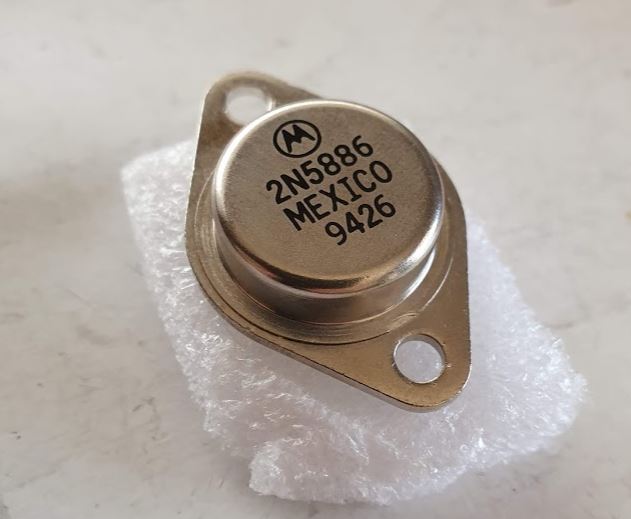
For comparison, the HP-Motorola part:
Tried to fix it with a 2n3055 temporarily, but it turns out there is not enough gain with that transistor. So the rail would only go up to 4 Volts.
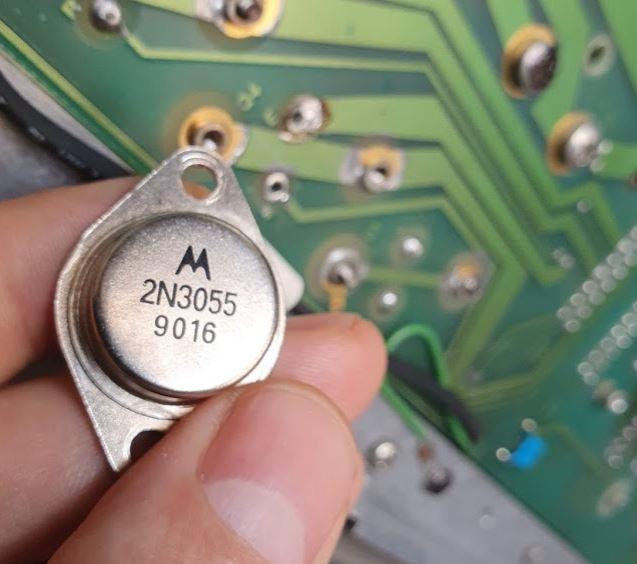
The 2n5886 is a quite remarkable device, high current and substantial gain.
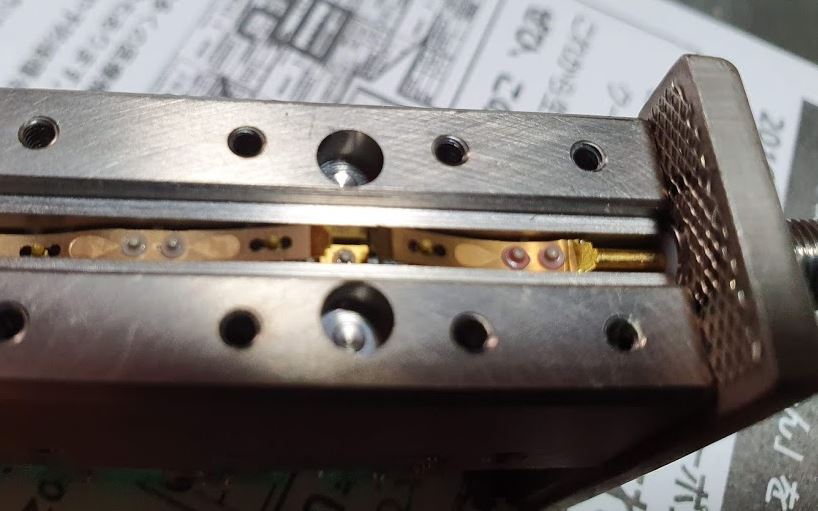
Finally, I got hold of this “Motorola” device, it may be genuine, at least it looks like solid quality. So I unstalled it for a test.
You can see it installed, a new and shiny transistor. Soldered it in generously applying solder.
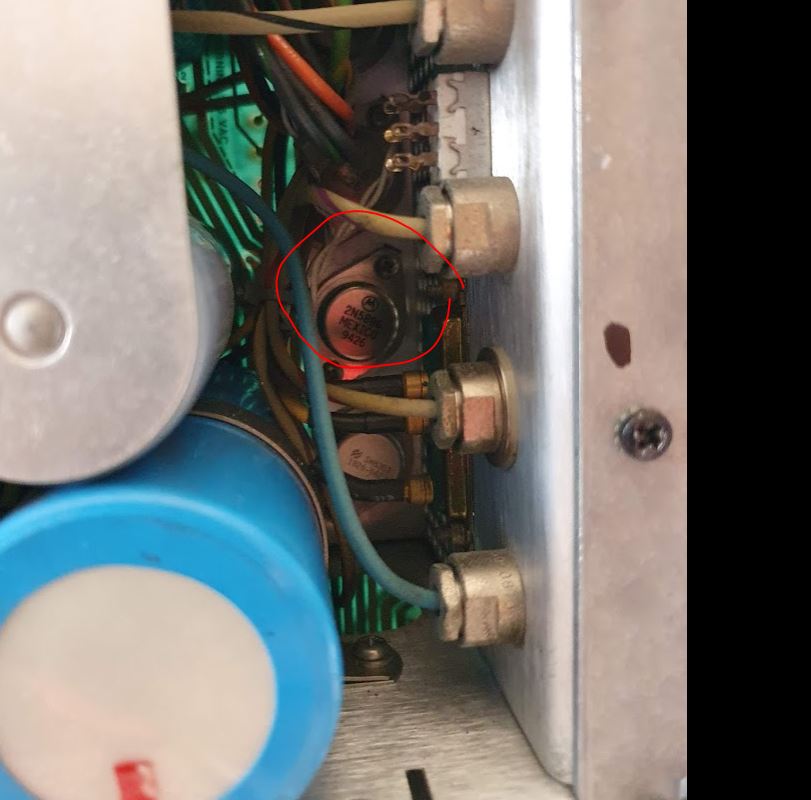
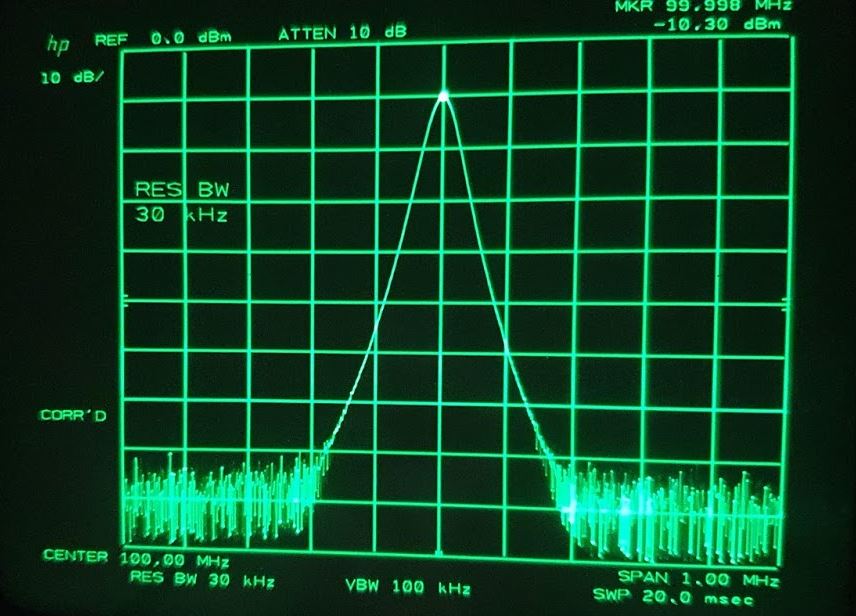
Voltage is spot on without any adjustments.
Now all seems to work, except the various IF filters need a bit of alignment.
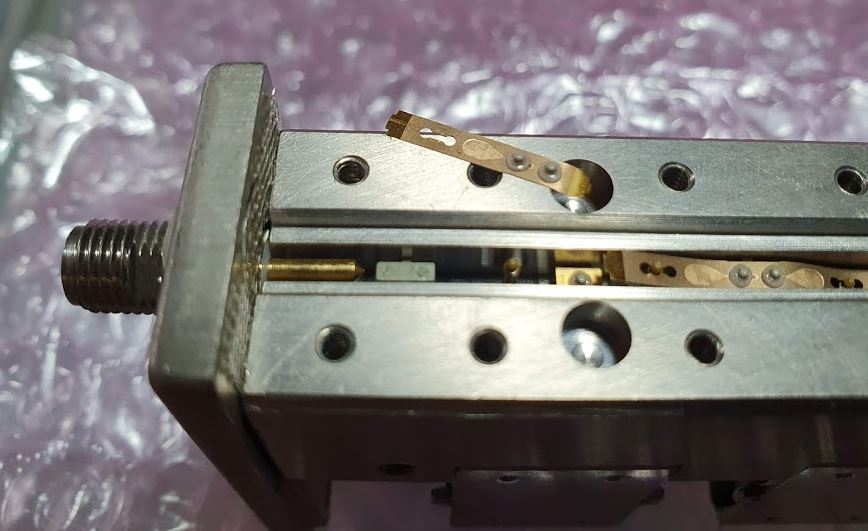
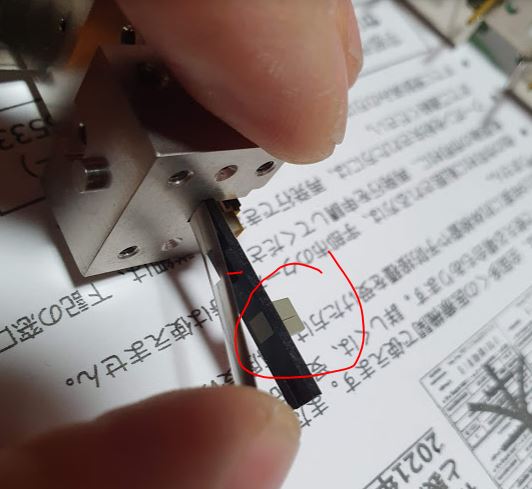
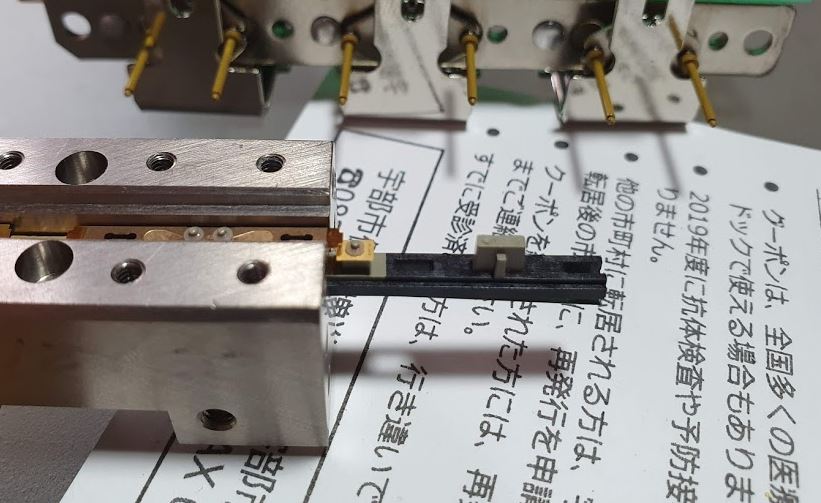
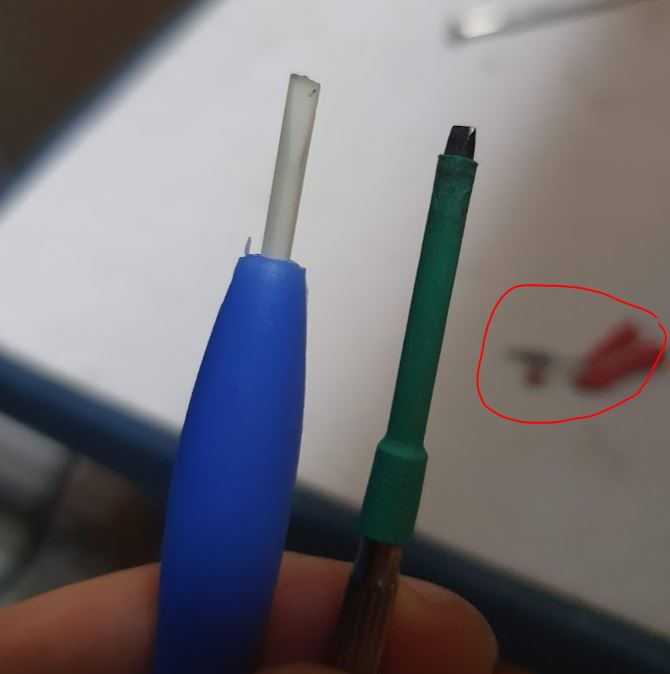
Although they are brittle, for these adjustments ceramic screwdrivers are definitely handy. Make sure to isolate other screwdrivers, easily there can be shorts when adjusting, resulting in complicated repairs of the IF signal chain.
Finally all adjusted within the toleraces, there are all too many adjustable capacitors inside this unit!!
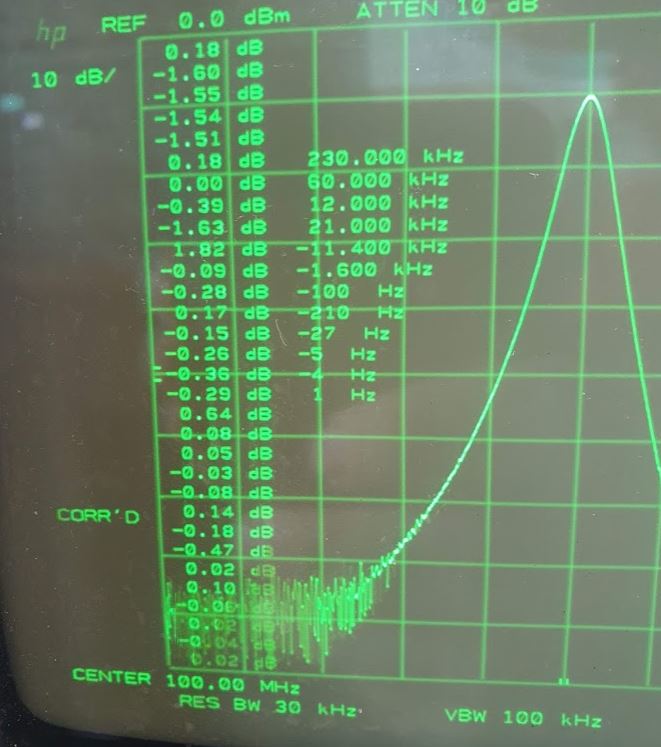
At least, a well worthwhile repair, because the CRT is like brand new. It seems that someone had replaced it, but then put very little further use on the unit. I plan to use it together with my microwave phase noise measurement installation, for rough characterization of microwave sources prior to engaging the complicated phase noise test gear.